HEALTH
a bALANCED dAY |
|


cREATIVE

Professional Docs crash course |

STARTING YOUR PERSONAL PROJECT |

HOW TO DRAW JOYFULLY |
HOUSEHOLD

DISCARDING IN WAVES |
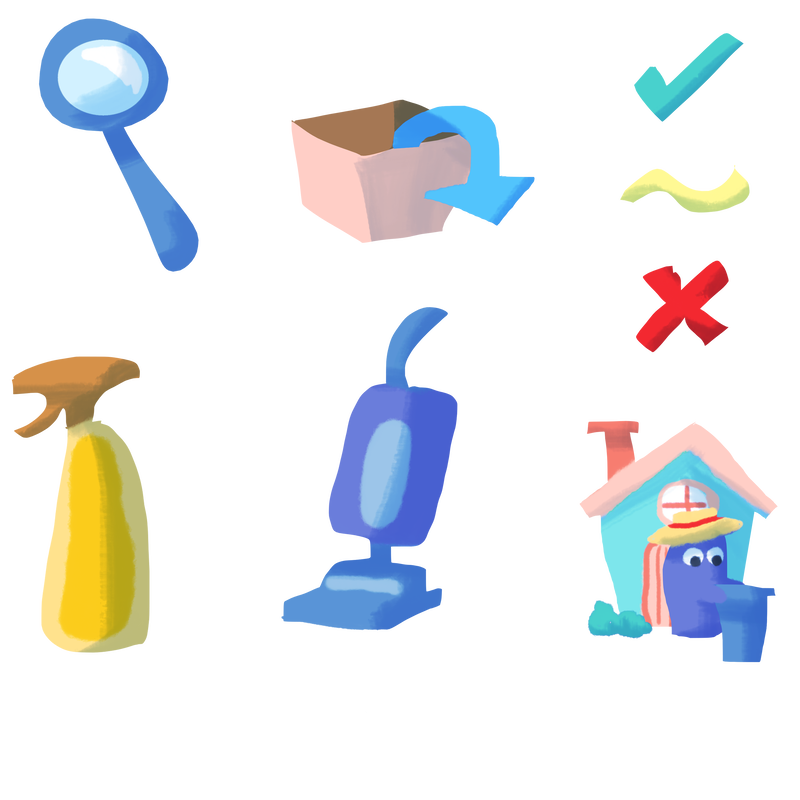
dEEP CLEAN A ROOM |

You Don't need to
|

BREATHING ROOM |
2 tHINGS TO DISCARD IN EVERY ROOM |

UTILITY VERSUS SENTIMENT |

MINIMIZING, ORGANIZING, AND CLEANING |

A HOME BASE |
